Christmas Count Down Flutter App(Part 1)
So it’s a few days to Christmas and is in the middle of learning Flutter, so I decided to start a small project of creating a Countdown app to Christmas. (Still not a Pro yet 😊 )
First things First..
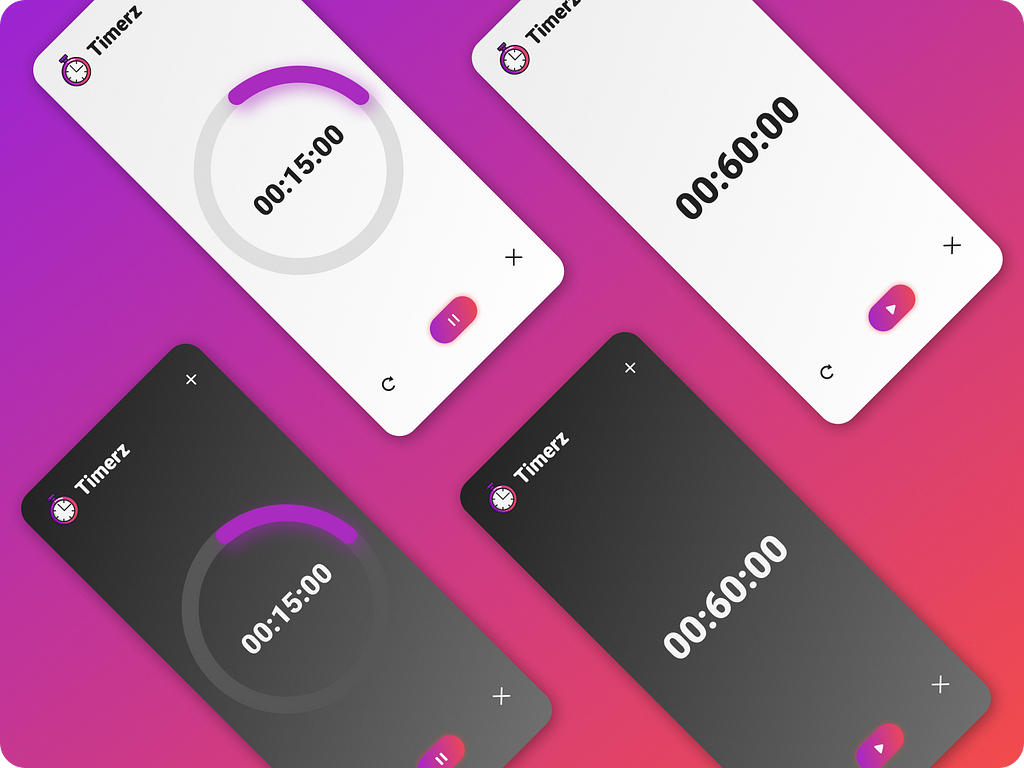
Before starting the project I decided to check Dribble and have a look at some of the UI/UX designs. It’s a good habit of checking out other Senior designers work to have an idea of how your app will look like and be on track. This is one of the designs I liked.

1. Prototyping
So here are my sketches of how I want my app to look like(don’t mind the handwriting 😅), sketchy as they may be, they guide you to be on track.

So the prototype has three Screens— The First one is a splash Screen screen, Second one will have an animated countdown and lastly will have the reminder itself. Simple right?
Let’s start Coding!!

Create a new flutter project using android studio by running Flutter create <appname > on terminal. I prefer using android studio due to its simplicity and lot of goodies. Visual Studio is another good editor if your machine can’t handle android studio, anyway it’s your choice 😁.
Create SplashScreen widget
Splash screen is the intro page to any app, it gives a bit of intro of what the app does.
1.1 Navigate to main.dart where you’ll create the Splash screen widget.
To make it Simple I’ll just include an SVG image and a text Widget to the splash screen page.
1.2 So let’s start by adding the image.
Unlike png, jpeg images, flutter does not allow adding SVG images directly so we’ll have to use a dependency from flutter_svg dependancy,

add it to the pubspec.yaml file and click packages get button to update the dependencies.
1.3 Add this line to import svg package to main.dart.
import 'package:flutter_svg/flutter_svg.dart';
1.4 Now let's start adding images and texts.
Download SVG image here and add it to your project by creating an image folder outside the lib folder. Just as we did with the svg package, update the pubspec.yaml file by adding the location of your images.

1.5 add this to your main.dart file
import 'package:flutter/material.dart';
import 'splashScreen.dart';

void main() => runApp(XmasCountdown());

class XmasCountdown extends StatelessWidget {
  @override
  Widget build(BuildContext context) {
    return MaterialApp(
      title: 'Xmas Countdown',
      home: Scaffold(
        body: SafeArea(
          child: Container(
            child: Column(
              mainAxisAlignment: MainAxisAlignment.center,
              crossAxisAlignment: CrossAxisAlignment.stretch,
              children: <Widget>[
                SvgPicture.asset(
                  'images/bell.svg',
                  height: 200,
                ),
                SizedBox(
                  height: 20,
                ),
                Text(
                  'Xmas CountDown',

                  textAlign: TextAlign.center,
                ),

              ],
            ),
          ),
        )
      ),
    );
  }
}
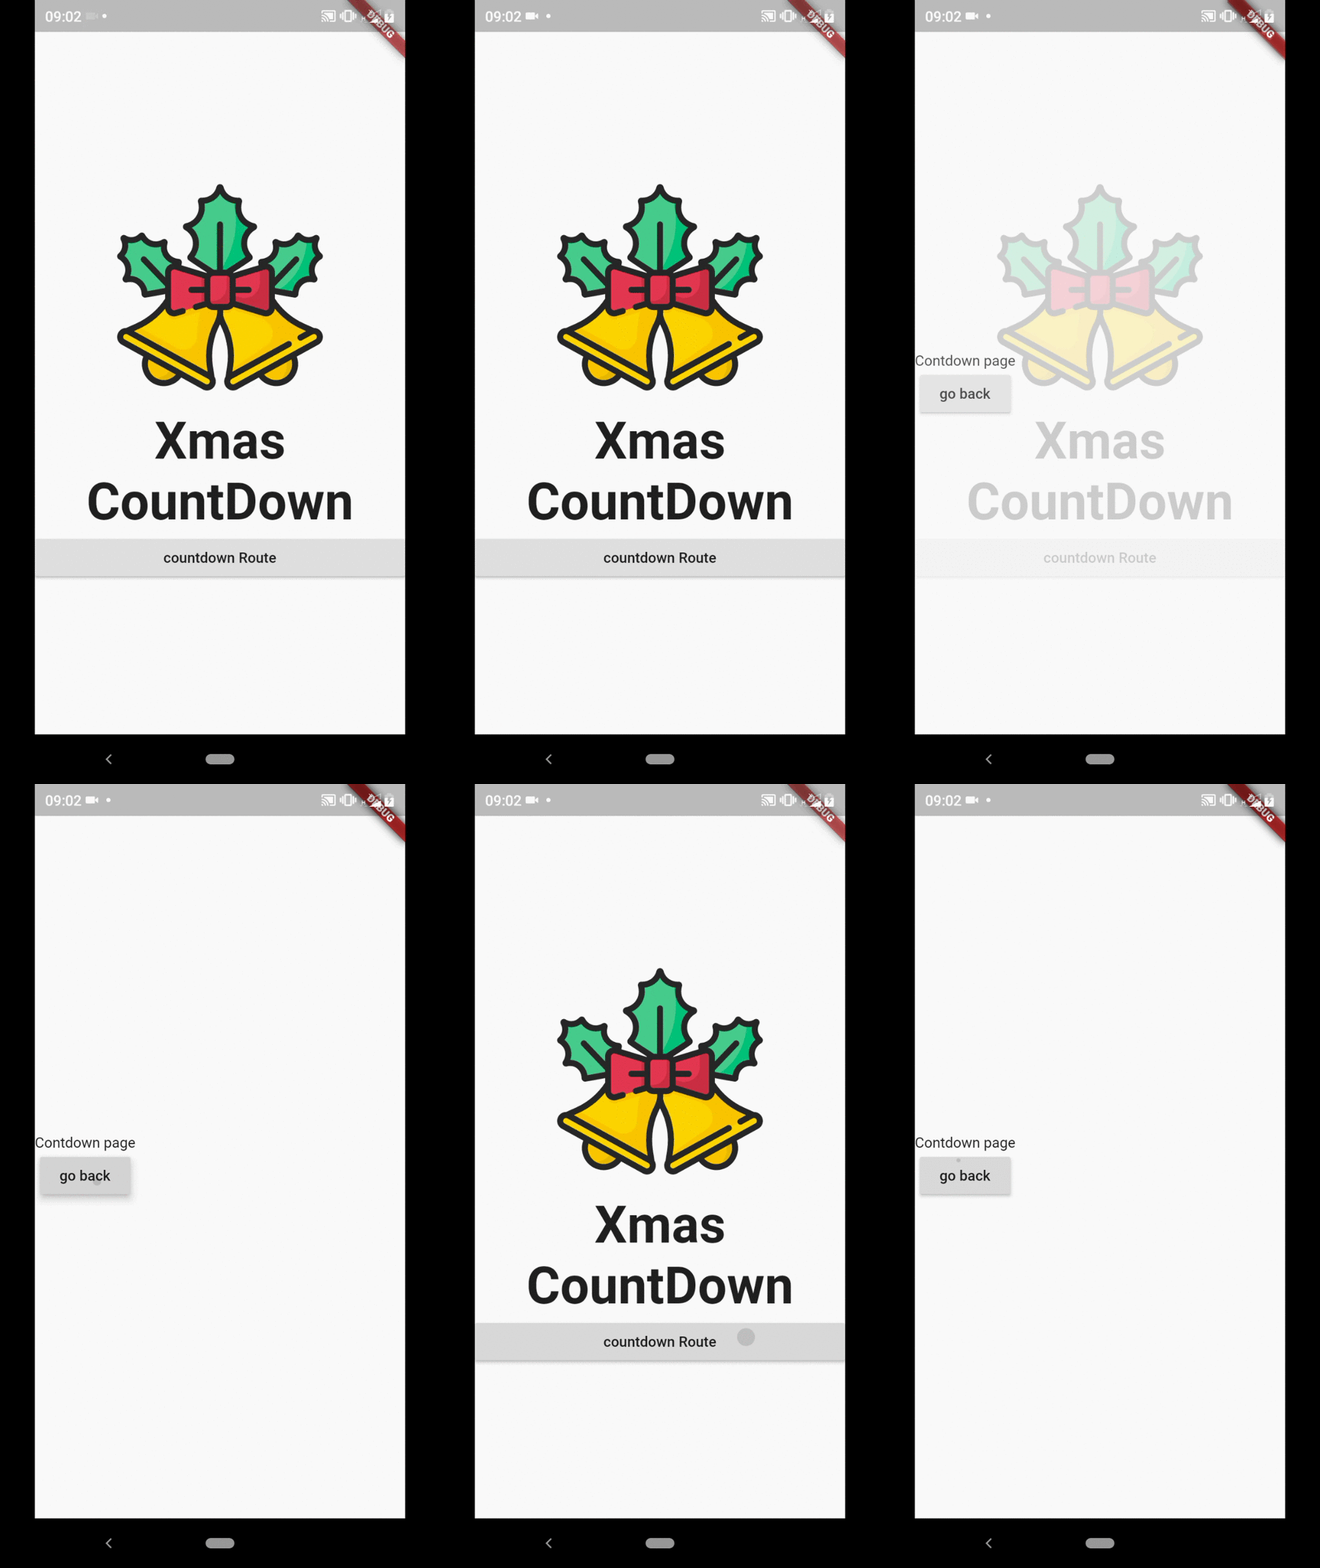
1.6 Now run your app by clicking flutter run on the terminal and Boom! You just created your app with an image and text 😜

2. Separating splashscreen content from the main.dart file
Now on the serious stuff...
So dart is an OOP language and it’s a good habit to make your code readable and clean. So we gonna create a new file and name it splashScreen.dart in the same folder.
2.1 Remember I did say android studio has some goodies? To separate widgets classes from the main class, hover around the SafeArea widget and click Flutter outline option on the right side. Choose safe area widget, right-click and click Extract widget option and give a name (called mine SplashScreen). It’s that simple 😊

2.2 Now this will create a new SplashScreen widget below the xmasCountdown widget. Copy it and paste it to the new splashscreen.dart file.
Here is the structure of how the code looks like afterward.
main.dart
import 'package:flutter/material.dart';
import 'splashScreen.dart';

void main() => runApp(XmasCountdown());

class XmasCountdown extends StatelessWidget {
  @override
  Widget build(BuildContext context) {
    return MaterialApp(
      title: 'Xmas Countdown',
      home: Scaffold(
        body: SplashScreen(),
      ),
    );
  }
}
SplashScreen.dart
class SplashScreen extends StatelessWidget {
  @override
  Widget build(BuildContext context) {
    return SafeArea(
      child: Container(
        child: Column(
          mainAxisAlignment: MainAxisAlignment.center,
          crossAxisAlignment: CrossAxisAlignment.stretch,
          children: <Widget>[
            SvgPicture.asset(
              'images/bell.svg',
              height: 200,
            ),
            SizedBox(
              height: 20,
            ),
            Text(
              'Xmas CountDown',
              style: xmasTextStyle,
              textAlign: TextAlign.center,
            ),
              },
            )
          ],
        ),
      ),
    );
  }
}
3. Setting up Routes
So routes enable you to move from one screen to another and according to our project, we want to move from the splashscreen to the countdown screen.
To move from one route to another we use the Navigator.push Widget which acts as a button and to get back to the previous route use Navigator.pop. For more detailed explanation head over to Flutter site
Navigator.push
Navigator.push(context,
    MaterialPageRoute(builder: (context) => CountDownScreen()));
Navigator.pop
Navigator.pop(context);

That’s all for today and stay tuned for the next session (Part 2) whereby we’ll continue with the Countdown animation. You can check the project at https://github.com/githumbi/Xmas-Countdown-Flutter and if you have any idea or suggestion do let me know 😊
