
Christmas Count Down Flutter App (Part 2)
So welcome to the second part of the Xmas Countdown App. If you are new here please check part1 first before proceeding so we flow together 😊

Adding CountDown Animation
so in this part I’ll discuss how we add the countdown animation to the countDownScreen.dart file.
The good thing about flutter is that it is open source and a lot of developers are currently taking a lot of coffee ☕ and coding all night to make your Flutter life waay much cooler by creating Flutter Packages. These packages enable developers to use less time to write their code in a clean format.

Search for the count down package here and put the following line in the pubspec.yaml
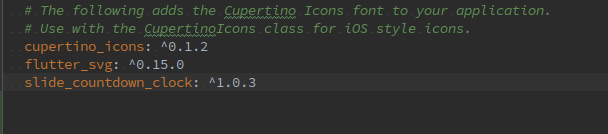
Do the same in the countdown.dart by importing the package using
import 'package:slide_countdown_clock/slide_countdown_clock.dart';

Following the online Documentation of the package on the README page, I simplified it to look like this
Widget build(BuildContext context) {
    return SlideCountdownClock(
//              duration: Duration(days: 1, minutes: 1000000),
      duration: Duration(seconds: 5),
      slideDirection: SlideDirection.Down,
      separator: "-",
      textStyle: kXmasCountDown,
      onDone: () {
//        _scaffoldKey.currentState.showSnackBar(SnackBar(
//          content: Text('Clock 1 finished'),
//          backgroundColor: Colors.green,
//        ));
      },
    );
  }
}
Now we are able to create our own countdown specifying the number of hours, minutes and seconds before the countdown expires. The project is at Github so you may check the full file here.
Now we have our countdown look like this

Now What happens after the countdown?
Now on the last Screen 😜
So we want an image or text to come up after the countdown ends. So we need to add a function that enables some activities to happen after the countdown ends.
The good news is that the countdown package we included came with these functions that ease our work
Navigator.push(context,
      MaterialPageRoute(builder: (context) => AnimationScreen()));
},
With this code, we are able to move to the next screen called animationScreen.dart that enables us to move to the last screen.
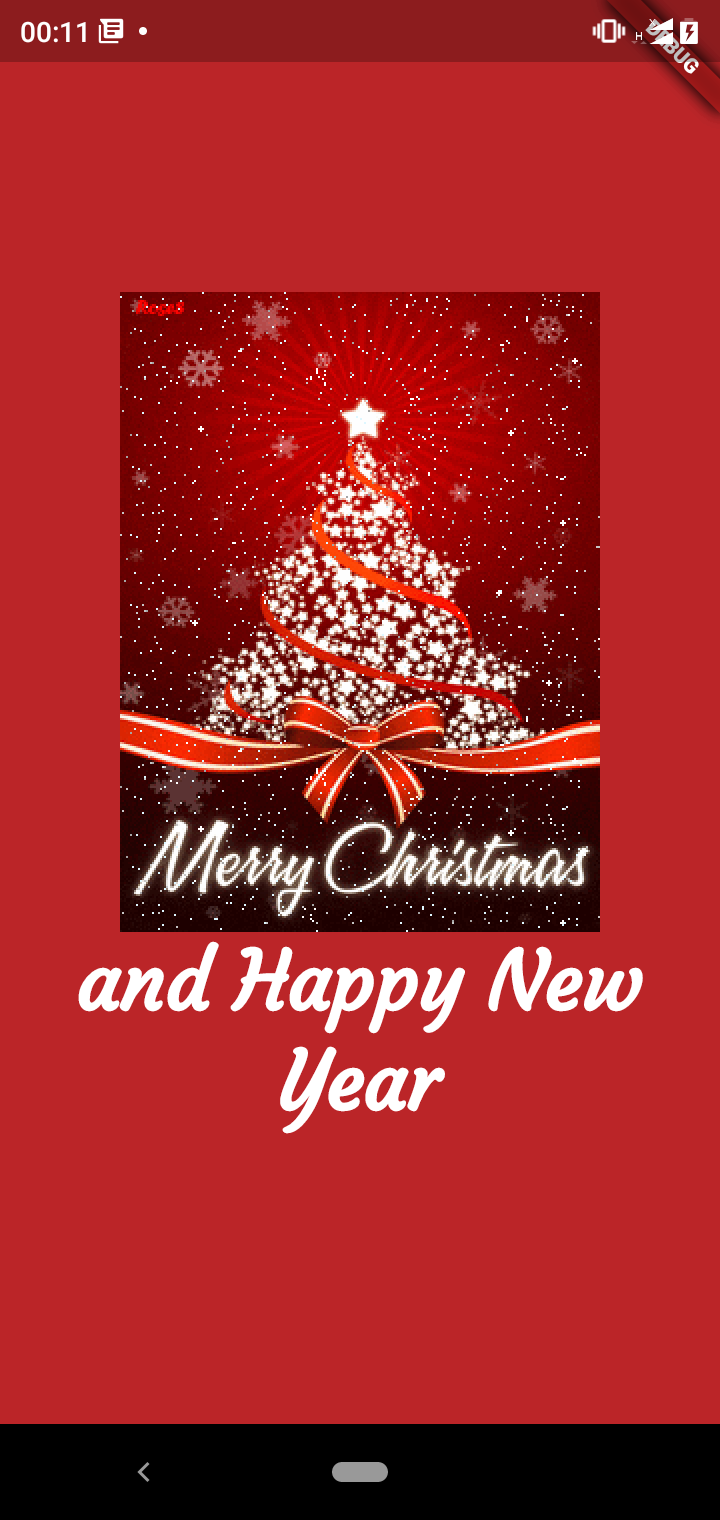
Since Christmas is tomorrow, I won't do animation but just add an image and text in this file. It will look like this
Now For Some Designing
Ya, I know, the design looks horrible from far and who the heck would wish to use such an app 😂?
So let’s start redesigning the welcome / splash screen,
I wanted a bit of animation so I added this SVG image instead of the image.
Image.asset(
  'images/xmascat.gif',
  height: 200,
),

Also, I added a Xmas-like font style using Google Fonts. Download a font you like and put it in a new folder(call it asset) and add it to the pubspec.yaml file
fonts:
  - family: courgette-Regular
    fonts:
      - asset: assets/Courgette-Regular.ttf
Now my Welcome Screen is a bit tidy. Do the same with the Countdown Screen.

Cleaning up your code
It's a good habit to make your code DRY — less repetition
so I created constant.dart file where I put the main code that will be reused by other widgets. Also, arrange your files in folders to avoid confusion when your project becomes bulk.
Now Let’s Hot Reload, Sit back and Watch our work

That’s all for now if you need to use this project, feel free to fork it at https://github.com/githumbi/Xmas-Countdown-Flutter